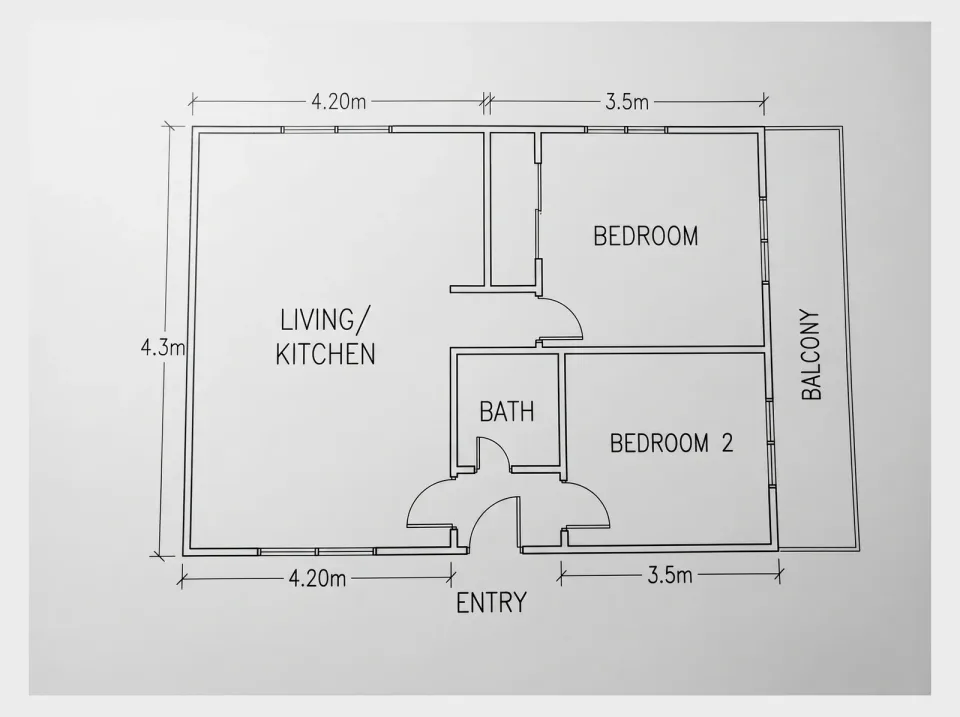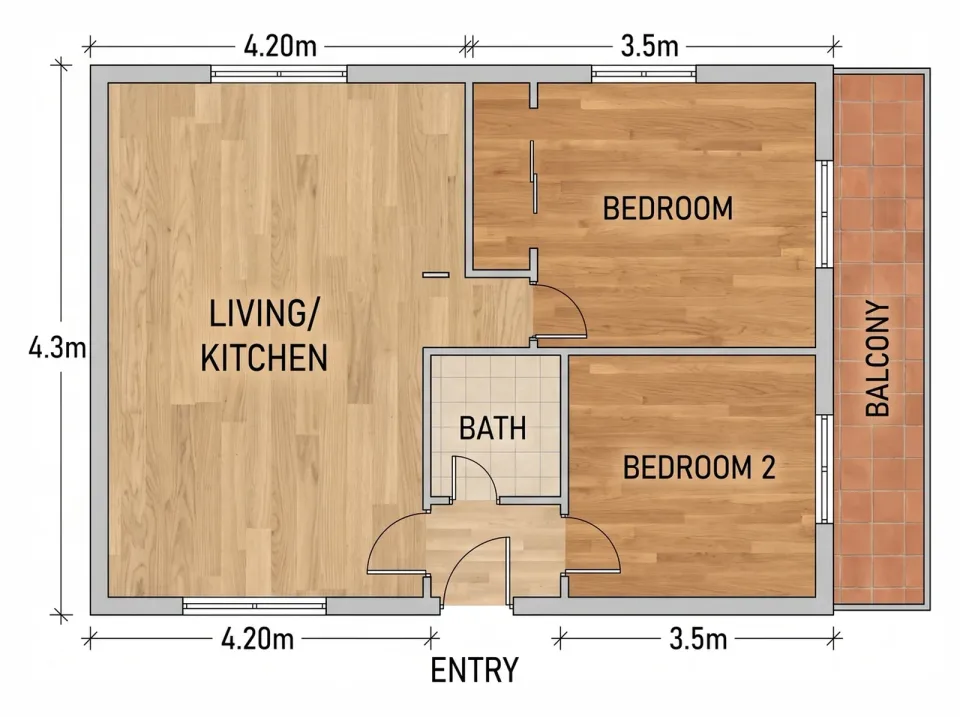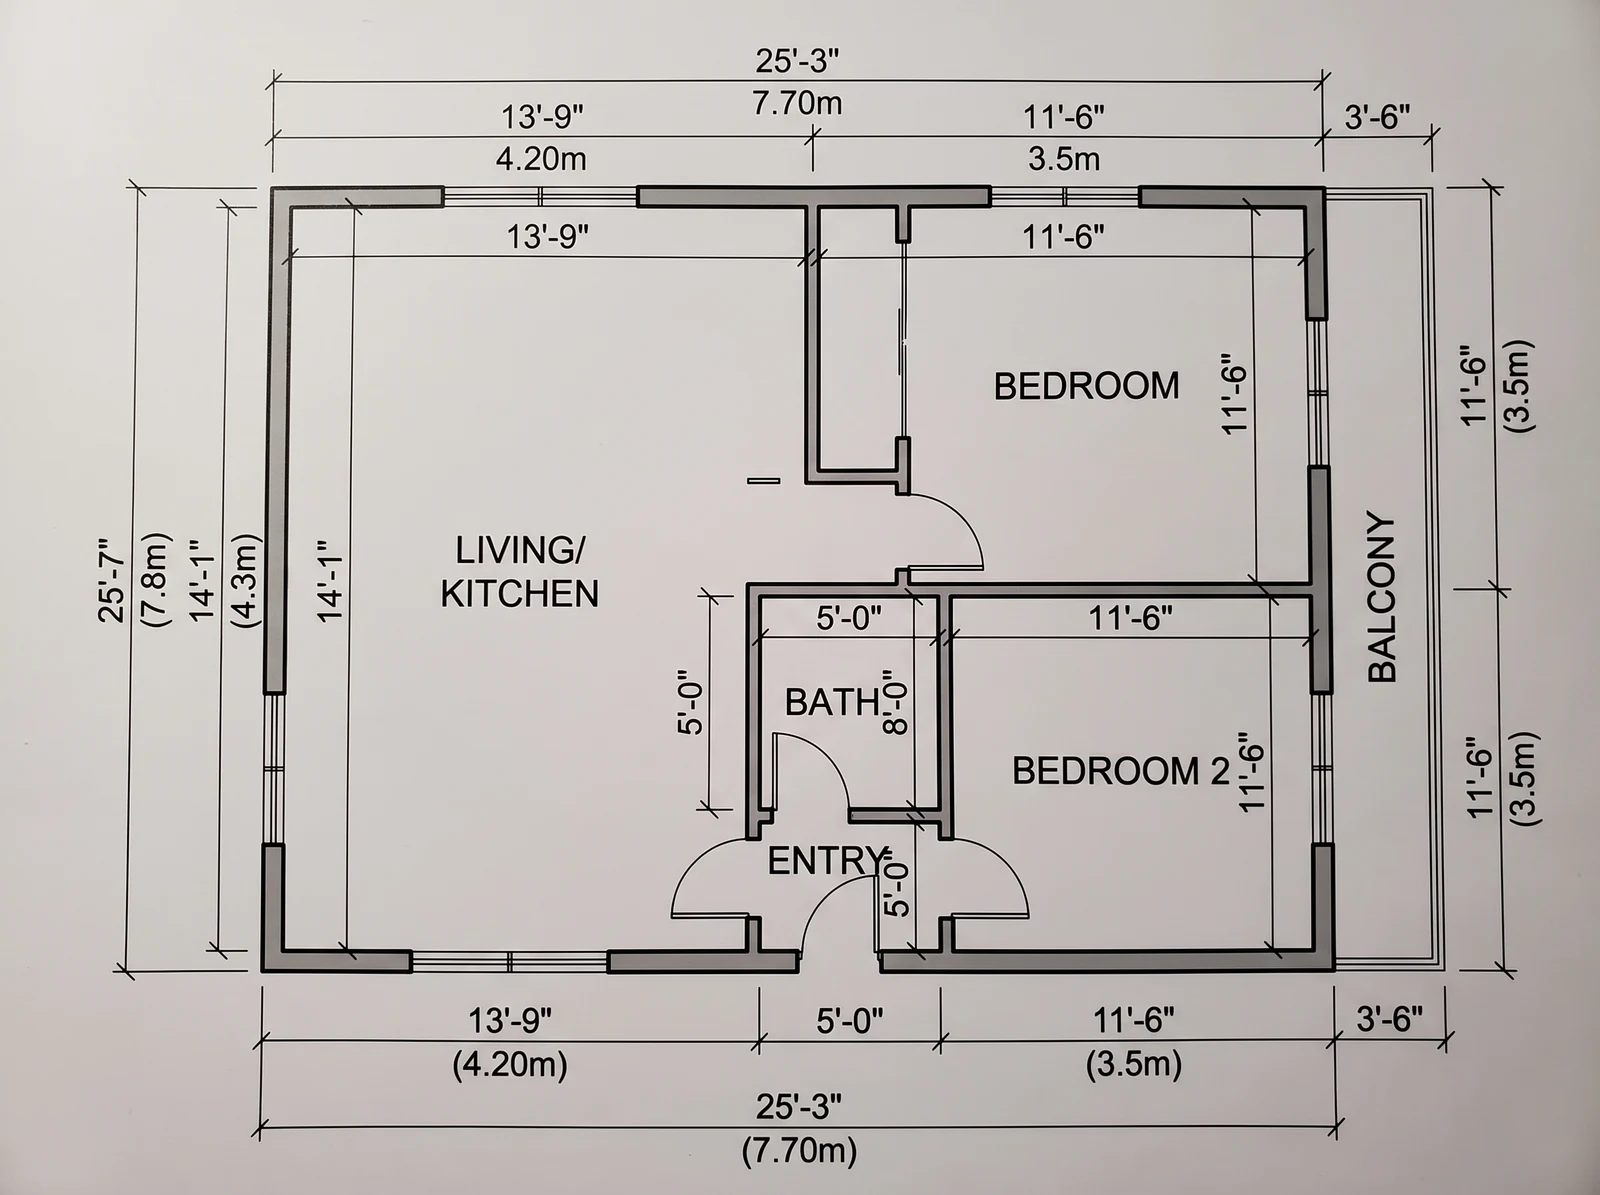
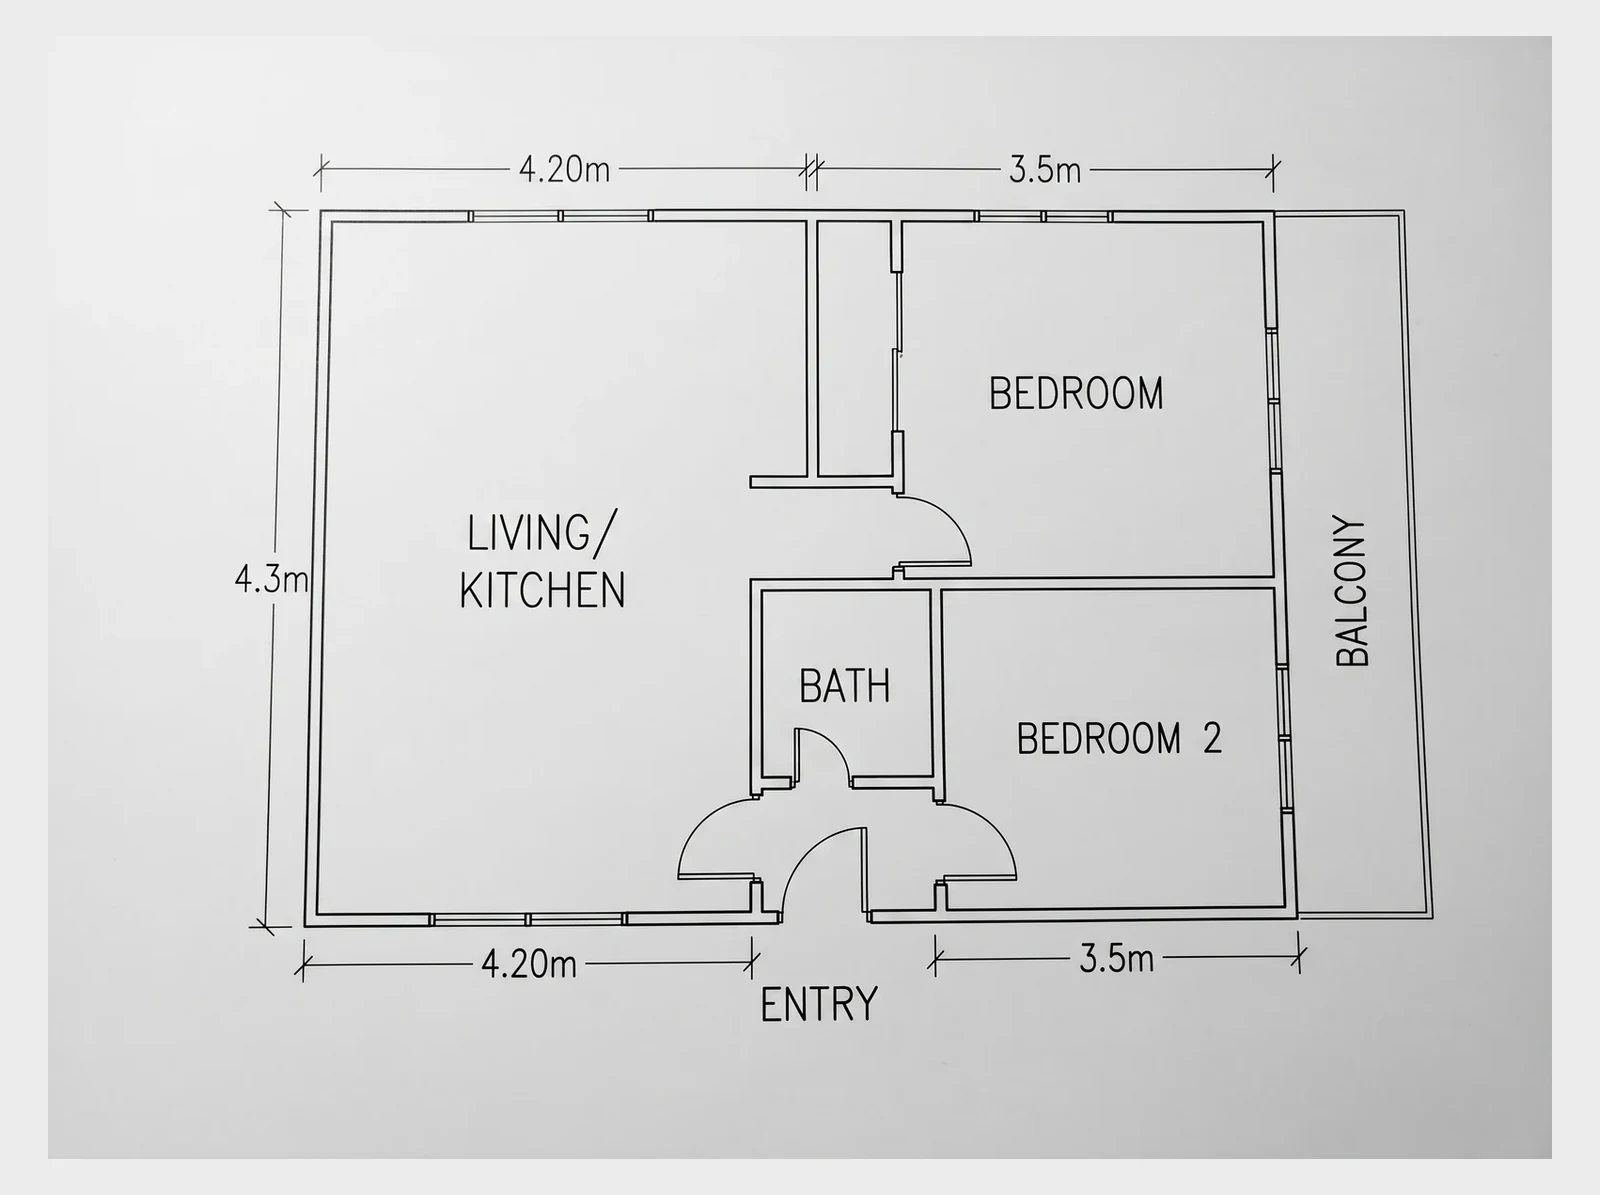
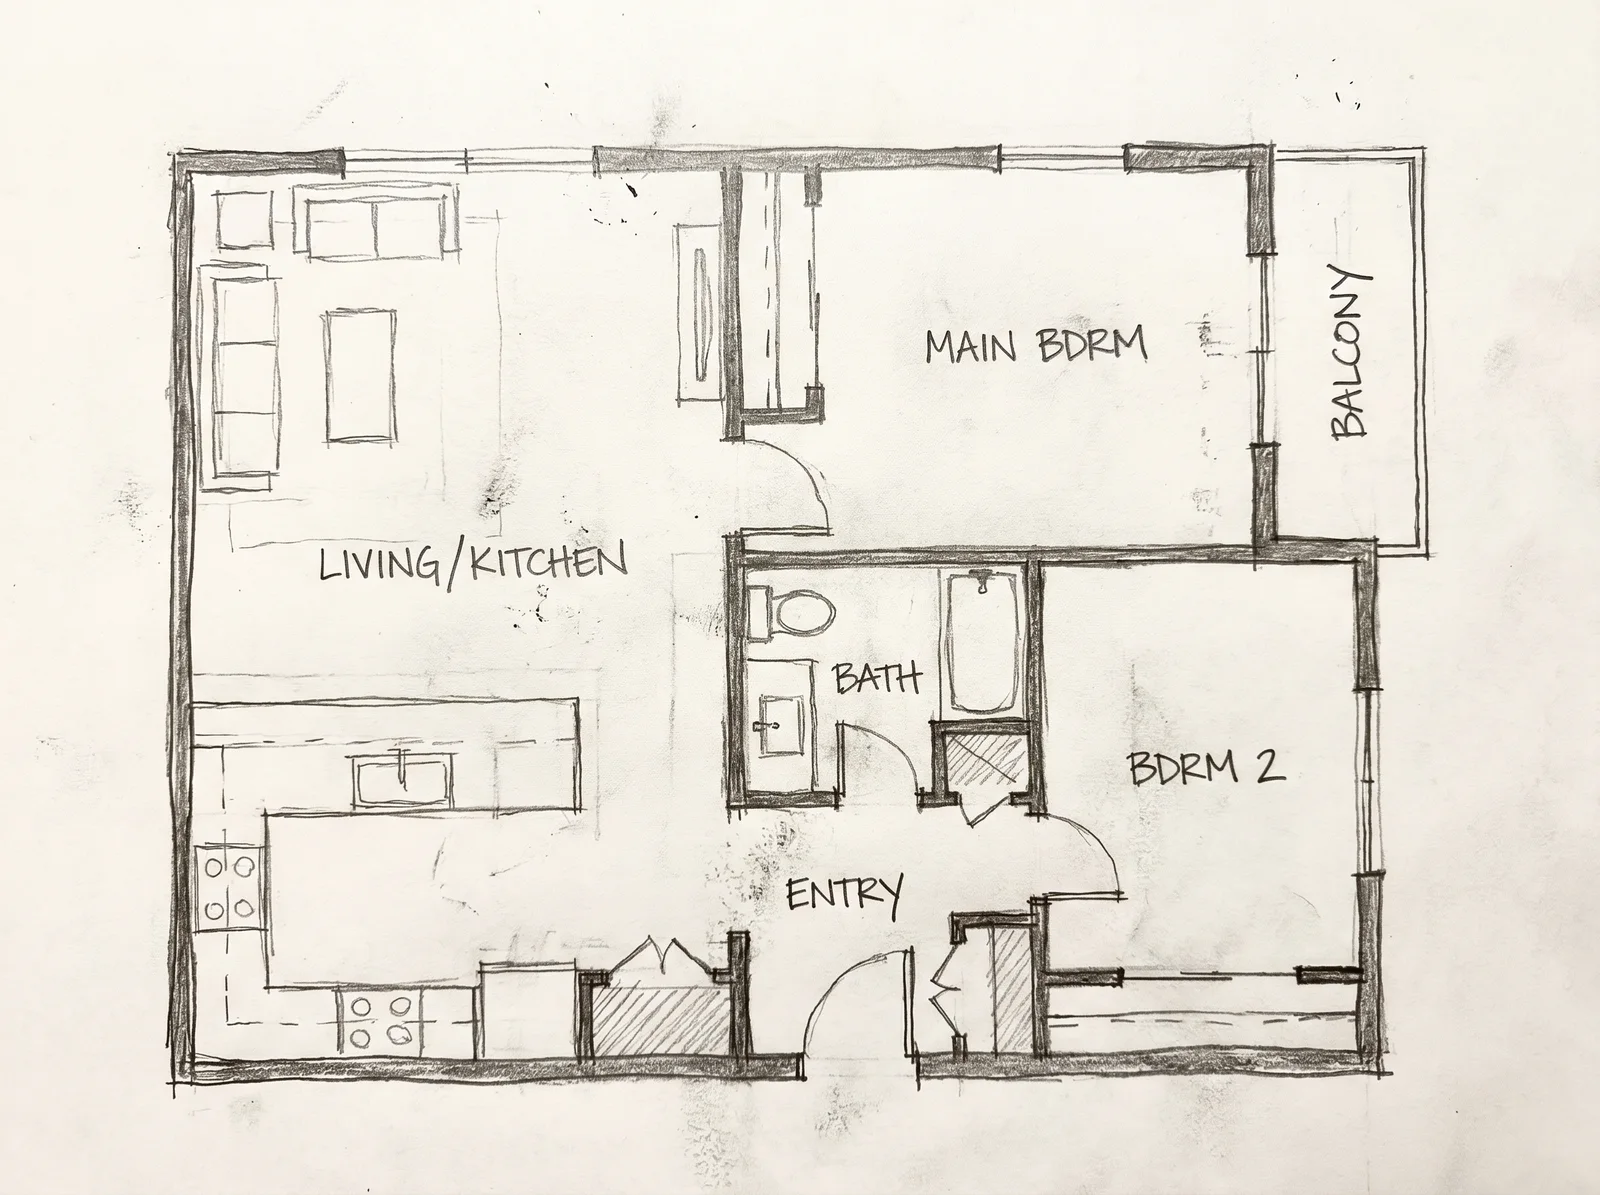
Kept as drawn
- The outer outline and every wall position
- Doors, windows and stairs where you drew them
- Room names, written as you wrote them
- Numbers on walls: each one sets that wall's length
- Which way the plan faces on the page
AI · Online
Photograph your hand-drawn floor plan sketch. FloorDrafter redraws it as a clean digital floor plan in about a minute, keeping every wall, door and written dimension where you put it. Download a PNG, or export DXF for CAD.
Optional. Upload the sketch first; leave this empty to convert it exactly as drawn.
Upload a floor plan image to start — this tool converts an existing plan.
Your first floor plan is free — sign up to keep generating


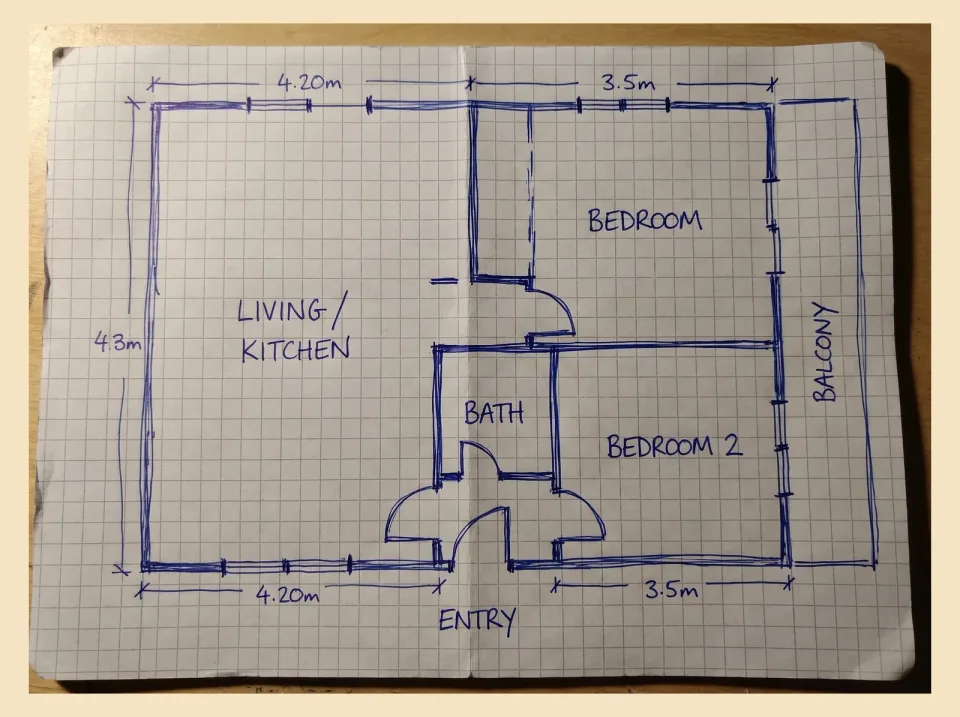
Sample: a phone photo of a graph-paper sketch (right) and the clean CAD drawing that came back (left). Drag the handle to compare; yours appears here in about a minute.
A sketch to floor plan converter turns a photo of a hand-drawn floor plan into a clean digital plan. FloorDrafter keeps the walls, openings, room labels and written measurements as you drew them, straightens the lines, and returns a PNG, a DXF for CAD, or a plan to keep editing.
Graph-paper and notebook sketches, napkin drawings, a whiteboard photo, a scanned or faded paper plan, an existing floor plan image, or a building plan for a small office or shop. Not a photo of the room itself: the converter redraws drawings, it does not survey spaces. JPG, PNG, WEBP or PDF, straight from your phone.
Examples
Same phone photo, three instructions. The input never changes: a ballpoint sketch on graph paper with 4.20 m and 3.5 m written on the walls, photographed on a desk. What changes is the sentence underneath, and that sentence decides which floor plan comes back.

What FloorDrafter returns, depending on what you ask


Three steps, about a minute of waiting, no CAD skills.
Lay the sketch flat, fill the frame with the paper and shoot from straight above in even light. A phone photo, a scan or a whiteboard picture all work, and so does a PDF.
Upload the photo and pick Clean CAD for a black-and-white drawing, Colored plan for tinted rooms, or Furnished 2D for furniture. Add a note only if something should change, such as dimensions in feet.
Get the PNG, export a DXF with the walls, doors and windows for AutoCAD or Revit, or mark the next change on the paper in red and upload it again.
Numbers you write on the sketch are copied, not measured, so the plan is as accurate as your tape measure. Here is what each situation gives you.
| What you write on the sketch | What comes back |
|---|---|
| 4.20 m on the living-room wall | That wall is drawn to 4.20 m and the number is kept as a dimension line. |
| Nothing on the bathroom walls | They keep the proportions you drew, relative to the walls that do have numbers. |
| Only room names, no numbers at all | A proportional plan with labels. Ask for dimensions in feet or in metres and every room gets dimension lines in that unit. |
| 12 ft on one wall, 3.5 m on another | Both are respected. Say which unit you want on the finished plan. |
| Export DXF | Walls, doors and windows as lines in metres, scaled from a standard 0.9 m door. Text and dimension figures are not part of the DXF. |
For a scaled survey of an existing building you still need a measured plan. This converter draws what you sketched.
You do not need to draw neatly. These six habits are what separate a one-shot conversion from a retry.
Table, hands and clips outside the sheet confuse the read. Crop before uploading if you can.
An angled shot gets squared up, but a straight one always converts cleaner.
Faint graphite on grid paper is the most common reason a wall goes missing.
Outer walls first. One number per wall is enough; the rest is drawn in proportion.
Standard symbols are read more reliably than the word door written next to the wall.
Outer walls thick, inner walls thin, and keep it consistent across the sheet. Advice from a homeowner who got three renovation permits from sketches like these.
Every conversion is a high-resolution PNG; downloads made before you pick a plan carry a small watermark.
Drop it into a listing, a message to your contractor or a slide. To hand someone a PDF, print the PNG to PDF from your browser.
Export the walls, doors and windows as lines, in metres, and carry on in CAD. Room names and dimension figures stay on the PNG.
Mark the change on the paper in red: cross out a wall, draw a new opening, write bathroom here. Photograph it again and upload both, or type the change in the editor.
Three ways to get from a sketch to a floor plan, and what each one asks of you.
| FloorDrafter converter | Drag-and-drop editors | Human redraw service | |
|---|---|---|---|
| You supply | A phone photo of the sketch | Your time: trace every wall, type every length | The sketch plus measurements, then you wait |
| Time to a plan | About a minute | One to three hours for a first plan | Same day to a few days |
| Cost | 3 credits per plan; Pro at $19 a month covers about 50 plans | Free tiers save one plan; paid from about $10 a month | From about £18 per plan |
| Output | PNG; DXF of walls, doors and windows; changes by marking the paper | Fully editable vectors, PDF and DXF, to-scale print | A PDF or JPEG plan drawn to your numbers |
| Best for | Planning, listings, contractor conversations, first drafts | Exact drawings you will keep revising in software | Listing plans when you do not want to touch software |
Sketch the current layout, convert it, then mark the new kitchen on the paper and convert again.
A listing-ready plan from the sketch you made at the viewing, without a CAD operator.
A clean drawing of the site sketch to send with the quote, the same afternoon.
Get the napkin idea into a clean 2D before opening CAD, and keep iterating on paper.
Straight answers about accuracy, dimensions, formats and cost.
Upload a phone photo of your floor plan sketch and get a clean digital plan back in about a minute.